注釈には、注釈の動作や外観をカスタマイズするために設定できるオプションがあります。 以下の手順に従って、注釈の設定にアクセスしてください:
- Video Cloud Studio ログインします。
- Interactivity モジュールを開きます。
- プロジェクトの タイトル クリックして開きます。
- 注釈にカーソルを合わせ、Edit をクリックします。
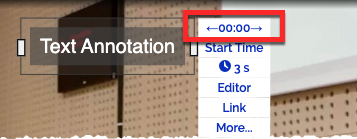
- More... をクリックすると、すべてのオプションが表示されます。
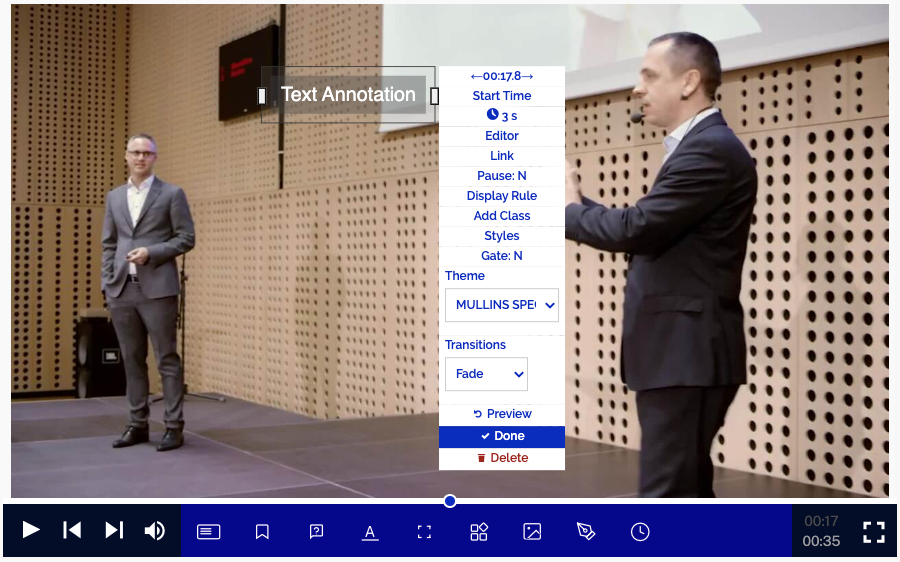
Start Time (開始時間)
Start Time (開始時間)は、注釈の開始時間を制御します。 右矢印をクリックすると開始時間を1秒進め、左矢印をクリックすると戻すことができます。
Start Time をクリックすると、数千秒単位またはビデオ内の特定のパーセンテージまで微調整できます。Start Time フィールドは柔軟性があり、以下の入力を受け付けます:
- 20 (20 秒)
- 00:20.000 (20 秒)
- 1:37 (1 分 37 秒)
- 97 (1 分 37 秒)
- 15% (ビデオの 15%)
- -15 (ビデオ終了 15 秒前)
- -10% (ビデオ終了前の 10%)
Duration (長さ)
注釈が画面に表示され続ける時間。Pause が Y に設定されている場合、注釈の持続時間は、それが一時停止されている持続時間となります。
Link (リンク)
Link (リンク) は、視聴者が注釈をクリックしたときの動作を制御するために使用できます。 リンクの詳細については、注釈リンクの設定を参照して下さい。
Pause (一時停止)
Pause (一時停止) を Y に設定すると、ビデオがこの注釈に到達したときに一時停止します。 ビデオを一時停止しない場合は、Pause を N に設定します。
Gate (ゲート)
Gate (ゲート) は、視聴者がその注釈と対話しない限り通過できないビデオ内のポイントです。 これは、ビデオで先に進む前に誰かがクイズに参加することを確認するために最も頻繁に使用されます。
Display Rule (表示ルール)
Display Rules (表示ルール) は、特定の条件下でのみ注釈を表示するために使用されます(例えば、新規の視聴者のみに)。 注釈を表示させたい JavaScript 式を設定します viewer=='new')。これらの JavaScript 式は、Interactivity APIs を使用して外部システムから渡すか、視聴者が Link オプションで別の注釈をクリックしたときに設定することができます (例 viewer="new")。 Display Rule の詳細については、ダイナミック 注釈の使用を参照して下さい。
Add Class (クラスの追加)
Add Class (クラスの追加) オプションを使用すると、注釈に特定のCSSクラスを追加することができます。 これは通常、特定の注釈にカスタム スタイルを適用するために使用されます。 プロジェクト レベルのCSS か アカウント レベルのCSS どちらかのカスタム スタイルシートに、このCSSクラスを含める必要があることに注意してください。
Styles(スタイル)
Styles (スタイル)設定を使用して、背景色と不透明度を変更できます。 これは プロジェクト レベルのCSS や アカウント レベルのCSSを上書きします。
Theme (テーマ)
Theme (テーマ) 設定は、注釈の「定型」スタイルのセットを提供します。 これは通常、テキストの色を白から黒に、またはその逆に変更するために使用されます。
Transitions (トランジション)
Transitions (トランジション) 設定は、注釈がどのように表示され、画面から消えるかを制御します。