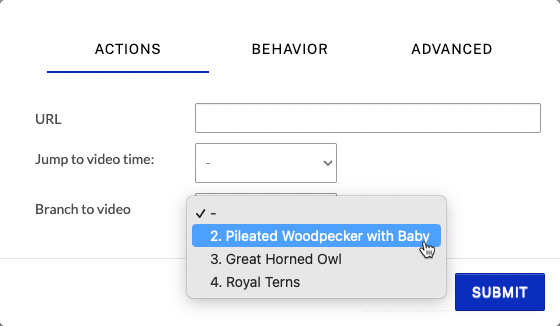
Link(リンク) > ACTIONS(アクション) > Branch to video (ビデオに分岐) をクリックし、リンク先のビデオを選択します。
ビデオ内の特定のポイントに移動するための Time (時間)を入力します。Time (時間)が入力されていない場合は、リンク先のビデオの最初にジャンプします。
SUBMIT (送信)をクリックします。
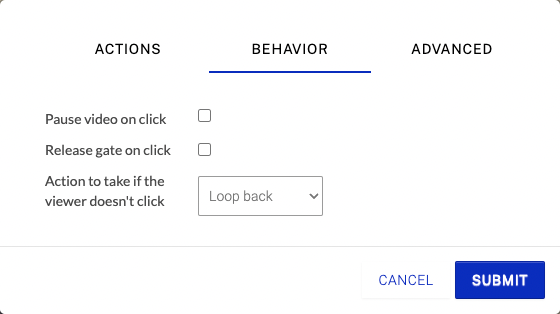
選択注釈の1つで、Link(リンク) > BEHAVIOR(挙動) > Action to take if the viewer doesn't click (視聴者がクリックしなかった場合のアクション)を Loop back (ループバック)に設定します。
これにより、視聴者が選択肢をクリックするまで、ビデオがループして「メインメニュー」の部分を表示します。
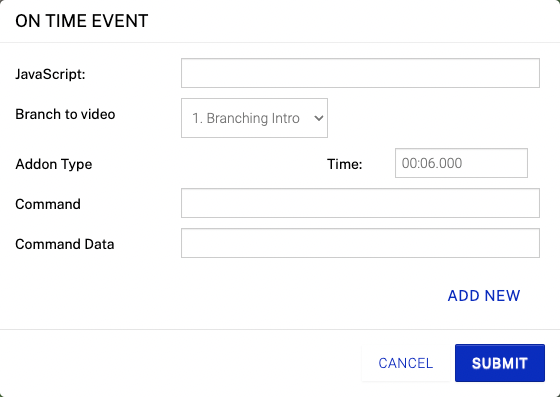
各分岐の最後に、時間でトリガーされるアクションを追加し、Branch to video time (ビデオに分岐)を設定して適切な場所にジャンプするようにします。この例では、イベントが6秒地点で「イントロ」ビデオに戻るように設定されています。